Balazo Gallery
Related Articles
Relief printing, a traditional printmaking technique, has been widely employed in the realm of arts and photography for centuries. This method involves carving away portions of a block or plate to create raised surfaces that are then inked and pressed onto paper or another surface. One captivating example illustrating the versatility of relief printing lies in the works of German artist Albrecht Dürer. His woodcut prints, such as “The Four Horsemen,” exemplify the precision and intricate details achievable through this technique. This article delves into the various aspects of relief printing, exploring its history, techniques, and applications within the realms of both fine arts and photography.
Rooted in ancient civilizations dating back thousands of years, relief printing found its way into modern art practices during the Renaissance period. It gained immense popularity due to its ability to produce multiple copies of an image with remarkable clarity and consistency. Through meticulous carving and careful application of ink, artists can achieve complex textures, gradients, and tonal effects previously unattainable by hand alone. In contemporary times, relief printing continues to be utilized not only by renowned artists but also by photographers seeking unique ways to translate their images onto tangible mediums. By mastering this versatile technique, artists can unleash their creativity while adding depth and dimension to their artwork.
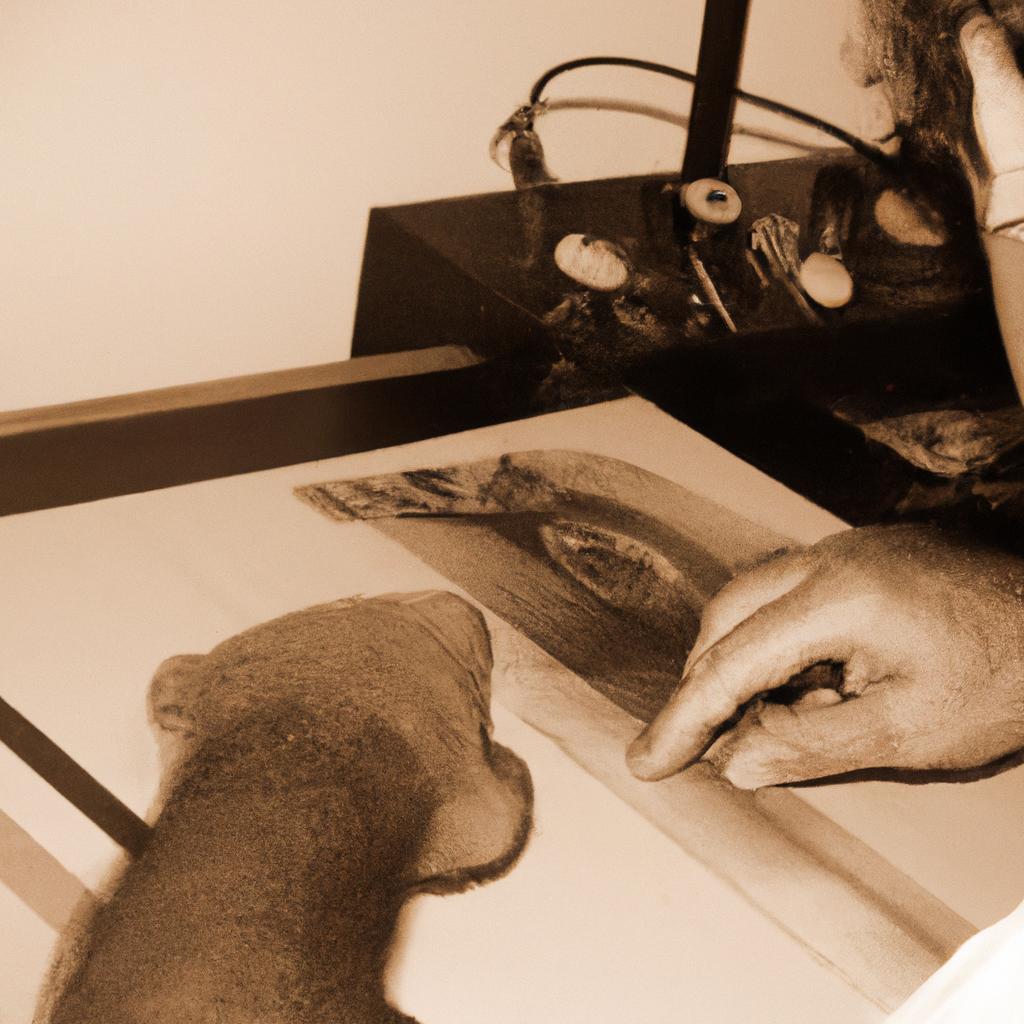
The process of relief printing begins with the selection of a suitable material for carving, such as wood, linoleum, or even metal. The chosen surface is then prepared by smoothing and cleaning it thoroughly. Next, the artist transfers their desired image onto the block or plate using various methods, such as drawing directly on the surface or transferring a design from another medium.
Once the image is transferred, the artist begins the meticulous task of carving away the areas they want to remain uninked. This can be achieved using sharp tools like chisels, gouges, or knives. The depth and precision of these cuts dictate the final result in terms of details and textures.
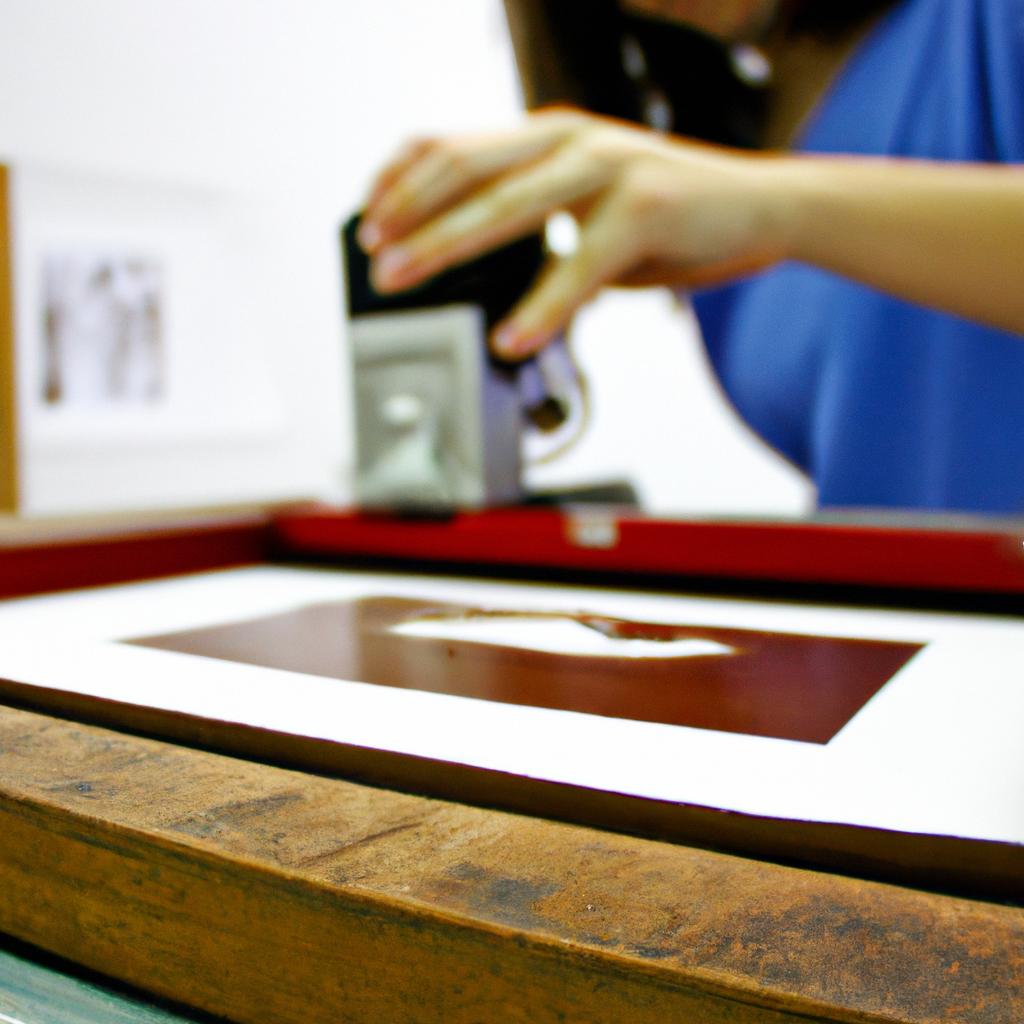
After completing the carving process, ink is applied to the raised surfaces using a brayer or roller. The ink adheres only to these raised areas while leaving recessed portions untouched. This creates a “relief” effect when printed.
To transfer the image onto paper or another surface, pressure is applied either manually with a handheld tool like a baren or through mechanical means like an etching press. The inked block is carefully aligned with the receiving surface and pressed firmly to ensure proper ink transfer.
Relief printing offers artists endless possibilities for creative expression. From bold and graphic designs to intricate and delicate patterns, this technique allows artists to convey their ideas with precision and nuance. Additionally, relief prints can be made in multiple colors by employing separate blocks for each color layer.
In photography, relief printing provides photographers with an alternative method for reproducing their images beyond traditional photographic prints. By converting photographs into line drawings or halftone images suitable for relief carving, photographers can create unique interpretations of their work that possess a tactile quality not found in traditional photographic prints.
Furthermore, relief printing enables photographers to experiment with different materials and surfaces for printing their images, opening up new avenues for artistic exploration. Whether it’s creating textured prints on wood or experimenting with unconventional materials, relief printing allows photographers to push the boundaries of their craft.
In conclusion, relief printing is a versatile and captivating technique that has stood the test of time. With its rich history, precise carving techniques, and endless creative possibilities, it continues to be embraced by artists and photographers alike. Whether used in fine art or photography, relief printing offers a unique way to bring images to life through texture, detail, and depth.
History of Relief Printing
The art of relief printing has a rich history that dates back centuries. One fascinating example is the woodblock printing technique used in ancient China during the Tang Dynasty (618-907 AD). This method involved carving intricate designs onto wooden blocks, which were then inked and pressed onto paper to create prints. The popularity of relief printing spread throughout East Asia and eventually reached Europe, where it underwent further development and refinement.
Throughout history, relief printing has been favored for its versatility and ability to capture fine details. From religious texts in medieval Europe to political propaganda during the Renaissance, relief printing served as an important medium for spreading ideas and information. Notably, Albrecht Dürer, a renowned German artist during the 16th century, employed this technique extensively in his work, showcasing its potential for both artistic expression and mass production.
- Prints created through relief techniques have long-lasting cultural impact.
- Artists utilize relief printing to communicate their visions with precision.
- Relief prints offer viewers a tactile experience through texture and depth.
- The process of creating relief prints requires patience and meticulous craftsmanship.
Additionally, let’s incorporate a visual element into our discussion. Here is a three-column table highlighting notable examples of relief printing across different time periods:
| Time Period | Artist | Notable Work |
|---|---|---|
| Tang Dynasty | Unknown | Diamond Sutra |
| Renaissance | Albrecht Dürer | “Melencolia I” |
| Modern Era | Käthe Kollwitz | “The Weavers’ Revolt” |
| Contemporary Art | Kara Walker | “Gone: An Historical Romance of Civil War” |
In summary, the historical journey of relief printing reveals its enduring significance in the world of art and communication. From ancient China to contemporary artists, relief printing has proven itself as a powerful medium for expressing ideas and capturing intricate details. In the subsequent section on “Basic Principles of Relief Printing,” we will delve into the fundamental techniques that underpin this captivating art form.
Basic Principles of Relief Printing
Building upon the historical context of relief printing, let us now delve into the basic principles that underpin this artistic technique. By understanding these foundational concepts, artists and photographers can effectively utilize relief printing to create captivating visual compositions.
Section – Basic Principles of Relief Printing:
Relief printing involves several fundamental principles that govern its execution. To illustrate one such principle, consider a hypothetical scenario where an artist aims to create a print using linoleum block carving techniques. The first step in this process would be to transfer their design onto the linoleum surface, ensuring it is reversed to achieve the desired orientation when printed. This preliminary stage serves as a crucial foundation for subsequent steps in executing the relief print.
Furthermore, successful relief prints are reliant on careful consideration of various factors throughout the creation process. These include:
- Intentional mark-making: Artists must employ deliberate techniques while carving or etching into their chosen material to convey texture, depth, and contrast within their designs.
- Ink application: Applying ink evenly across the carved surface ensures consistent distribution and adherence during the printing phase.
- Paper selection: Choosing appropriate paper weight and texture contributes significantly to the final aesthetic outcome by enhancing or subduing certain qualities within the artwork.
- Pressure exertion: Determining the ideal pressure applied during printing impacts how much ink transfers from block to paper and ultimately affects line definition and tonal variation.
To further demonstrate key aspects influencing relief prints, consider the following table showcasing four different approaches utilized by renowned relief printmakers:
| Artist | Technique | Outcome |
|---|---|---|
| Hiroshi Yoshida | Woodblock Printmaking | Exquisite detail achieved through multiple intricate layers |
| Elizabeth Catlett | Linocut | Bold graphic quality with strong use of contrasting colors |
| Albrecht Dürer | Engraving | Fine lines conveying intricate shading and tonal variation |
| Katsushika Hokusai | Ukiyo-e | Vibrant compositions capturing scenes from everyday life |
As evident in the table, these artists employed various techniques to achieve unique visual outcomes. This diversity serves as a testament to the versatility of relief printing as an expressive medium.
By grasping the underlying principles that govern relief printing and acknowledging the diverse approaches taken by notable practitioners, artists and photographers can now explore further within this realm. The subsequent section will delve into the tools and materials required for executing relief prints, providing insight into how professional artists harness their creative potential.
As we move forward to discuss “Tools and Materials for Relief Printing,” let us now shift our focus towards understanding the essential components necessary for bringing relief prints to life.
Tools and Materials for Relief Printing
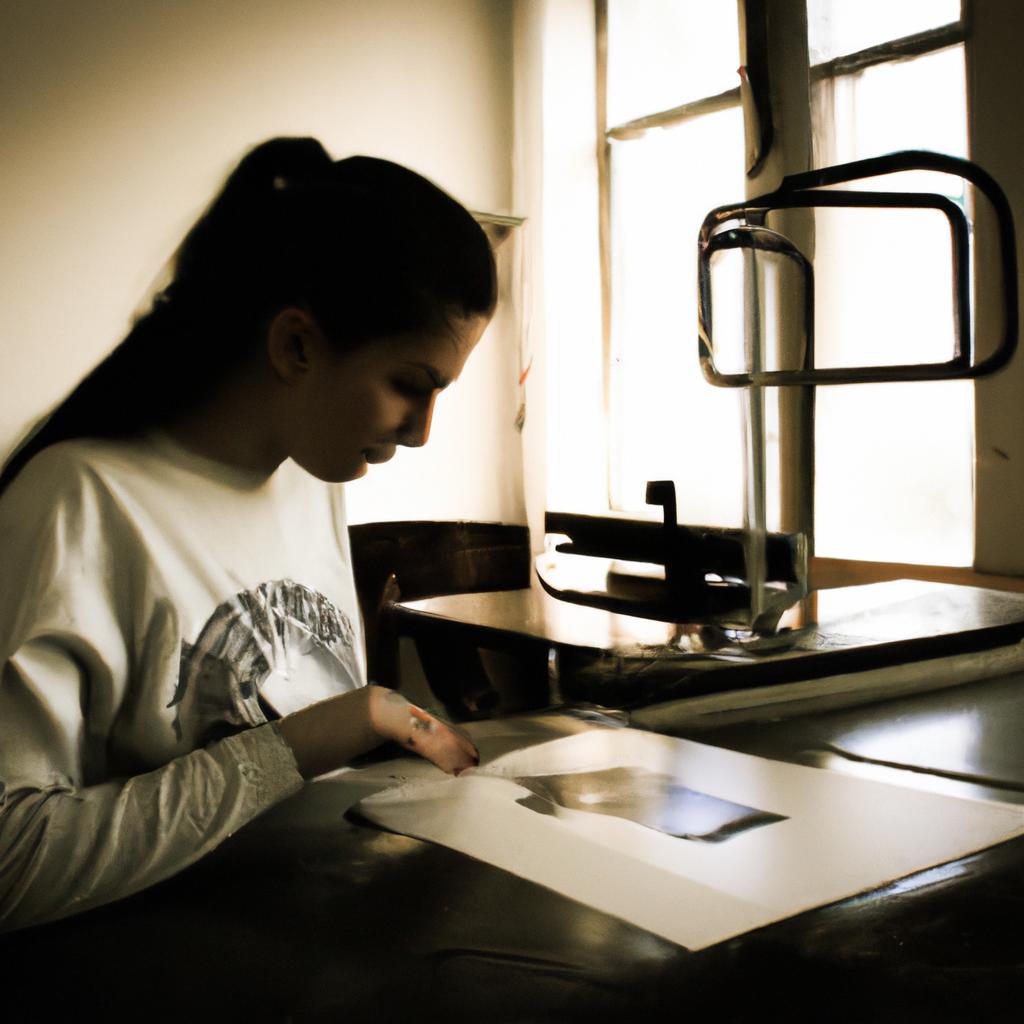
Transitioning from the previous section, where we explored the basic principles of relief printing, let us now delve into the essential tools and materials required to bring your artistic vision to life. To illustrate this further, imagine a scenario where an aspiring printmaker named Emily is eager to create her first relief print. By understanding the various tools and materials at her disposal, she can confidently embark on her creative journey.
When it comes to relief printing, certain indispensable tools play a crucial role in achieving desired results. These include:
-
Carving Tools: The foundation of relief printing lies in carving intricate designs onto a block or plate. Various carving tools such as gouges and chisels enable artists like Emily to meticulously sculpt their compositions with precision.
-
Printing Ink: Selecting suitable ink for relief printing is vital as it determines the quality and longevity of the final artwork. Artists may choose from oil-based or water-based inks depending on their preferences, each offering unique characteristics that influence color saturation and drying time.
-
Brayers: A brayer serves as a versatile tool used to evenly distribute ink across the carved surface of a block or plate. It enables artists like Emily to achieve consistent coverage while ensuring fine details are adequately preserved during the printing process.
-
Printmaking Paper: Choosing appropriate paper is paramount in enhancing the visual impact of relief prints. Artists often opt for acid-free papers specifically designed for printmaking purposes due to their durability, texture, and ability to absorb ink effectively.
- Achieve exquisite detail through precise carving techniques.
- Experience endless possibilities by experimenting with different colors and textures.
- Discover satisfaction in creating multiple impressions of one’s art.
- Appreciate the tactile beauty of handmade prints through carefully selected paper choices.
Furthermore, we can present key information using a three-column, four-row table to provide a concise overview of essential tools and materials:
| Tools | Materials |
|---|---|
| Carving Tools | Printing Ink |
| Brayers | Printmaking Paper |
In summary, as Emily embarks on her relief printing journey, understanding the necessary tools and materials is crucial for achieving artistic excellence. By carefully selecting carving tools, ink types, brayers, and printmaking paper, she can effectively bring her creative vision to life while experiencing the joy of this traditional art form.
Transitioning into the subsequent section about “Preparing the Image for Relief Printing,” let us now explore how artists like Emily lay the foundation for their prints by preparing the image with meticulous attention to detail.
Preparing the Image for Relief Printing
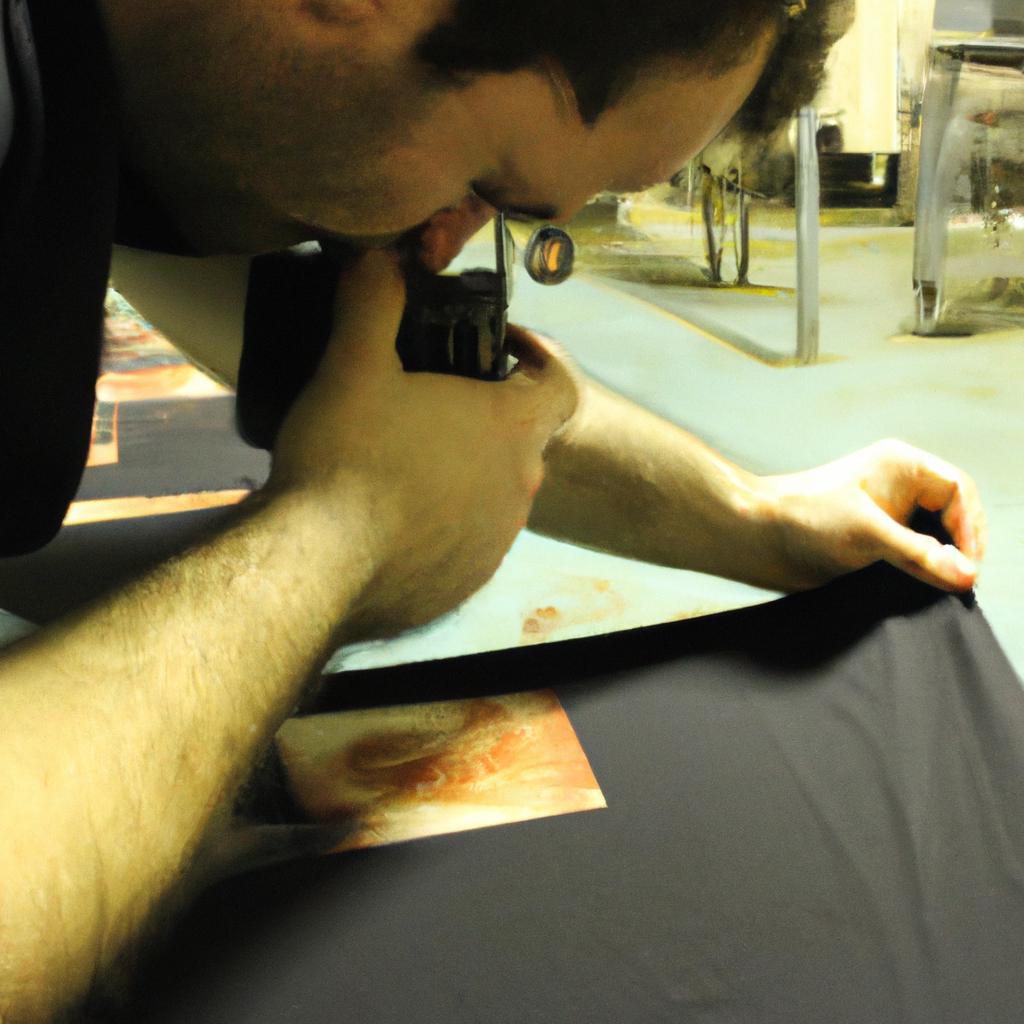
Transitioning from the previous section on tools and materials, let us now delve into the crucial process of preparing the image for relief printing. To illustrate this, imagine an artist who wants to create a print of a serene landscape with rolling hills and a picturesque sunset. The first step in preparing the image involves transferring it onto a suitable surface that can be carved or etched.
Once the image is transferred onto the chosen surface, several important considerations come into play. These include:
-
Composition: The artist must carefully analyze the composition of their image, paying attention to elements such as balance, focal points, and negative space. By strategically arranging these elements within the frame, artists can evoke specific emotions or communicate particular narratives through their prints.
-
Contrast: Utilizing contrast effectively adds depth and visual interest to relief prints. Artists may experiment with varying degrees of lightness and darkness in different areas of their composition to achieve desired effects. For example, they might choose to highlight certain details by carving them deeper into the block or leave other areas untouched for subtler tonal variations.
-
Texture: Relief printing offers exciting opportunities for incorporating texture into artworks. Artists can utilize various techniques like crosshatching or stippling to add tactile qualities to their prints. Such textures not only enhance aesthetic appeal but also engage viewers through sensory experiences.
-
Color choices: Although relief printing traditionally utilizes monochrome palettes, artists often explore creative possibilities by experimenting with color schemes through hand-coloring techniques after printing is complete. This allows them to infuse additional character and mood into their artwork.
To further understand these considerations visually, refer to the table below which provides examples of how each element contributes to the overall impact of a relief print:
| Element | Impact |
|---|---|
| Composition | Creates harmony or tension |
| Contrast | Adds drama and emphasis |
| Texture | Enhances visual and tactile experiences |
| Color choices | Evokes emotions, sets the tone, or establishes mood |
In conclusion, preparing the image for relief printing is a thoughtful process where artists carefully transfer their desired composition onto a suitable surface. By considering elements such as composition, contrast, texture, and color choices, artists can create impactful prints that captivate viewers’ attention. Now let’s explore various techniques for relief printing in the next section.
Techniques for Relief Printing
After preparing the image for relief printing, artists and photographers can delve into various techniques to bring their artistic vision to life. One such technique is linocut, which involves carving an image onto a block of linoleum, applying ink to the surface, and then transferring it onto paper or another suitable material. For example, imagine an artist who wants to create a bold and expressive print of a cityscape at night. By using the linocut technique, they can carve out intricate details of buildings and streetlights on the linoleum block, apply contrasting inks to capture the dramatic play of light and shadow, and ultimately produce a striking artwork that encapsulates their intended atmosphere.
To further emphasize the creative possibilities offered by relief printing techniques, here are some key considerations:
-
Texture: Relief printing allows artists and photographers to experiment with different textures by incorporating various materials into their prints. They can use textured papers or add elements like fabric or string directly onto the printing plate before making impressions. The resulting tactile quality adds depth and interest to the artwork.
-
Color layering: With relief printing techniques, artists have the opportunity to create multi-layered prints by selectively applying different colors in separate stages. This enables them to build up complex compositions or achieve subtle variations within a single image. Through strategic color choices and layering techniques, they can evoke specific moods or highlight particular aspects of their subject matter.
-
Print editions: Relief printing lends itself well to producing multiple copies of an image known as “print editions.” Artists can carefully control each impression’s consistency while also introducing slight variations between prints due to factors like ink application pressure or changes made during subsequent layers. These small differences make every print unique but still part of a cohesive series.
By exploring these creative avenues provided by relief printing techniques, artists and photographers can unlock infinite possibilities for self-expression. In our next section on “Exploring Creative Possibilities with Relief Printing,” we will delve deeper into the specific tools, materials, and methods that artists can employ to push their artistic boundaries even further.
Exploring Creative Possibilities with Relief Printing
In the previous section, we discussed various techniques for relief printing. Now, let us delve into the exciting realm of exploring creative possibilities with this versatile printmaking technique. To illustrate the potential of relief printing in arts and photography, consider the following example:
Imagine an artist named Sarah who specializes in relief printing. She decides to create a series of prints inspired by nature’s beauty. Using linoleum as her preferred medium, she meticulously carves intricate details of flowers and leaves onto a block. By applying ink onto the raised surfaces and carefully pressing paper onto the block, Sarah creates stunning prints that capture the essence of her subject matter.
When it comes to exploring creative possibilities with relief printing, artists have numerous avenues to explore. Here are some ways in which artists can push boundaries and tap into their artistic vision:
- Experimentation with different materials such as wood blocks or rubber stamps.
- Incorporating texture through techniques like chine-collé or collage.
- Combining relief printing with other printmaking methods like etching or lithography.
- Utilizing multiple colors through careful registration and layering techniques.
Furthermore, artists often find inspiration from innovative approaches employed by their peers. The table below showcases renowned relief printmakers and their notable contributions:
| Artist | Notable Contribution |
|---|---|
| Katsushika Hokusai | Known for his iconic “Thirty-Six Views of Mount Fuji” series |
| Mary Cassatt | Recognized for her intimate depictions of mothers and children |
| Albrecht Dürer | Renowned for his meticulous attention to detail |
| Elizabeth Catlett | Celebrated for her powerful portrayals of African-American experience |
By drawing inspiration from these pioneers while also experimenting with unique techniques, contemporary artists can take relief printing to new heights. Through diligent exploration and honing of skills, artists can create captivating and thought-provoking prints that resonate with audiences.
In summary, exploring creative possibilities with relief printing allows artists to showcase their vision in unique ways. By experimenting with different materials, textures, colors, and drawing inspiration from renowned printmakers, artists can push boundaries and create visually stunning works that captivate viewers. Embracing the versatility of relief printing opens up a world of artistic potential for those willing to explore its vast possibilities.