Balazo Gallery
Related Articles
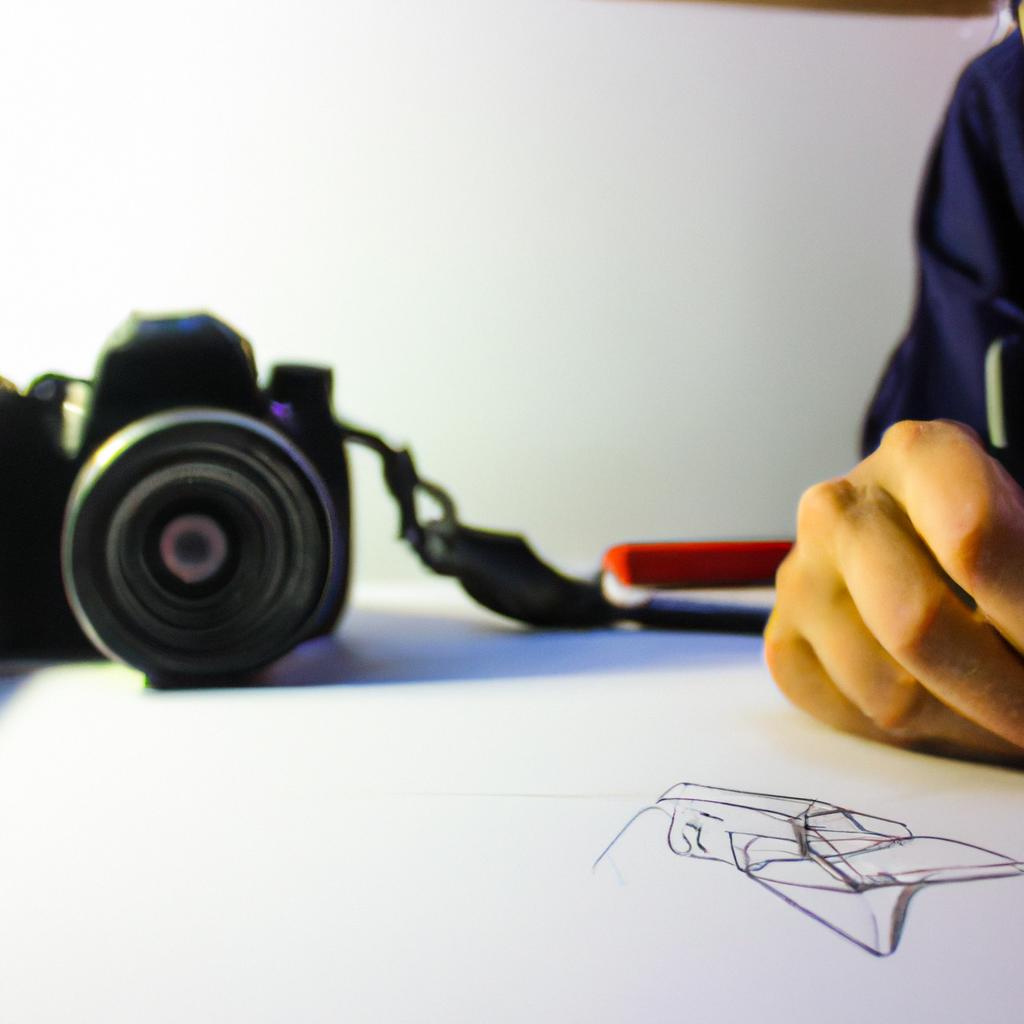
Drawing is a form of artistic expression that has captivated the human imagination for centuries. It allows artists to convey their thoughts, emotions, and observations through intricate lines and shapes on paper or canvas. In recent years, drawing techniques have found an intriguing intersection with the art of photography. This article will explore various drawing techniques used in photography, offering tips and insights into how photographers can incorporate these methods to enhance their visual storytelling.
Consider the case study of Sarah, a professional photographer who sought to add a new dimension to her work by incorporating drawing techniques into her photography practice. By experimenting with different lighting effects, angles, and perspectives, she was able to create photographs that resembled hand-drawn sketches. These images not only captured the essence of her subjects but also added depth and texture that traditional photography alone could not achieve. Inspired by this success, Sarah delved deeper into the world of Drawing Techniques in Photography and discovered a multitude of possibilities waiting to be explored.
The merging of drawing and photography can elevate photographic compositions beyond mere documentation; it opens up a realm where creativity knows no bounds. Through this article’s exploration of various drawing techniques employed in photography, readers will gain valuable insights and practical tips on how they too can harness the power of drawings in their own photographic practice. From using multiple exposures to create layered effects reminiscent of charcoal drawings, to incorporating intentional camera movement for abstract and expressive photographs, the possibilities are endless.
One technique that photographers can explore is called “light painting.” By using a long exposure and carefully manipulating light sources, photographers can create stunning images that resemble delicate pencil or ink drawings. This technique allows for precise control over the lighting and composition, resulting in unique and visually striking photographs.
Another technique to consider is “double exposure.” By overlaying two or more images onto one another, photographers can create ethereal and dreamlike compositions that evoke the feeling of hand-drawn illustrations. This method allows for experimentation with different subjects and textures, as well as the opportunity to tell complex visual stories within a single frame.
Additionally, photographers can experiment with “photomontage” techniques. By combining multiple images together, either digitally or through physical collage methods, photographers can create intricate and visually rich compositions that closely resemble mixed-media drawings. This approach offers endless opportunities for storytelling and creative expression.
In conclusion, incorporating drawing techniques into photography opens up new realms of creativity and visual storytelling. By experimenting with various techniques such as light painting, double exposure, and photomontage, photographers can elevate their work beyond traditional photography and create images that captivate viewers on both emotional and artistic levels. So why not grab your camera, unleash your imagination, and explore the exciting world where drawing meets photography? The possibilities are limited only by your own creativity.
H2: Pencil Drawing Tips
The art of pencil drawing requires precision, skill, and a keen eye for detail. Whether you are a beginner or an experienced artist, there are several techniques and tips that can help enhance your drawings. In this section, we will explore some valuable insights into creating stunning pencil drawings.
To illustrate the effectiveness of these techniques, let us consider the case of Emily, an aspiring artist who struggled with capturing realistic textures in her drawings. By implementing the following suggestions, she was able to elevate her artwork to a whole new level:
Firstly, mastering shading techniques is essential for creating depth and dimension in your drawings. Experimenting with different pressure levels on the pencil can produce varying tones and values. Additionally, cross-hatching – a method involving overlapping lines – can be used to create texture and add richness to your drawings.
Secondly, paying attention to proportions is crucial when it comes to achieving accuracy in your artwork. A helpful tip is using measuring tools such as grids or comparative measurements to ensure accurate placement and sizing of objects within your composition.
Thirdly, selecting the right paper plays a significant role in enhancing the quality of your pencil drawings. Textured papers provide more grip for graphite pencils and allow for better blending techniques. On the other hand, smoother surfaces work well for fine details and precise linework.
Incorporating emotional impact into our discussion about pencil drawing tips can evoke a deeper connection between artists and their audience. Here’s a bullet-point list showcasing how effective implementation of these techniques can ignite passion within viewers:
- Create lifelike textures that invite touch
- Evoke nostalgia by capturing intricate details
- Convey emotions through subtle variations in shading
- Inspire awe with meticulously executed proportions
Furthermore, let us delve into these concepts by exploring them through a table format:
| Techniques | Benefits | Examples |
|---|---|---|
| Shading | Adds depth and realism | Creating realistic portraits |
| Proportions | Ensures accuracy in the composition | Drawing architectural structures |
| Paper | Enhances texture and blending | Capturing natural landscapes |
As we conclude this section on pencil drawing tips, it is important to note that these techniques are not exhaustive but rather serve as a starting point for further exploration. In the subsequent section, we will shift our focus towards another popular medium – charcoal drawing. Transitioning into the next topic seamlessly, let us now explore techniques and tips specific to charcoal drawings.
[Next Section: H2: Charcoal Drawing Tips]H2: Charcoal Drawing Tips
Charcoal drawing is another popular technique used by artists to create stunning and expressive artwork. This medium offers a unique range of textures and tonal values that can add depth and drama to your drawings. By following these tips, you can enhance your charcoal drawing skills and bring your creations to life.
To begin with, let’s consider the importance of selecting the right materials for charcoal drawing. One example is using various types of charcoal sticks, such as vine or compressed charcoal, which provide different effects on paper. For instance, vine charcoal is softer and lighter in tone, making it ideal for creating initial sketches and establishing basic shapes. On the other hand, compressed charcoal produces darker tones and allows for more detailed shading.
Once you have chosen your preferred type of charcoal, there are several techniques you can employ to achieve desired results:
- Smudging: Use your fingers or blending tools to softly smudge the charcoal marks together, creating smooth transitions between light and dark areas.
- Erase selectively: Utilize an eraser or kneaded eraser to lift off some of the charcoal from certain areas, highlighting specific details or adding highlights.
- Cross-hatching: Draw parallel lines close together in one direction and then layer additional lines perpendicular to them. This technique creates texture and adds dimensionality to your drawing.
- Fixative spray: Apply a fixative spray once you have completed your drawing to prevent smudging. Remember to follow safety precautions while handling fixatives due to their chemical nature.
Incorporating these techniques into your workflow will allow you to manipulate value ranges effectively and create visually captivating charcoal drawings.
Moving forward, we will explore “H2: Ink Drawing Tips,” where we delve into another exciting aspect of artistic expression using ink as a primary medium.
H2: Ink Drawing Tips
H2: Ink Drawing Tips
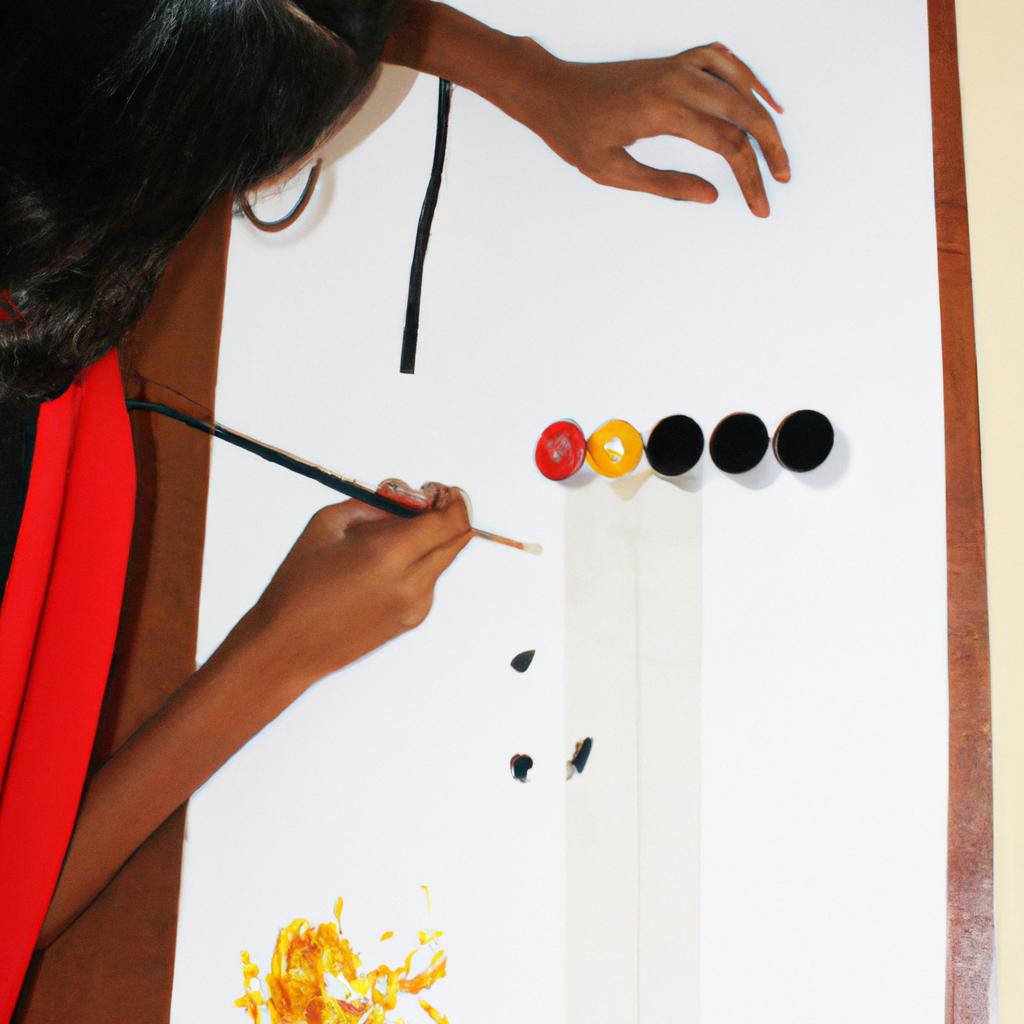
Ink drawing is a versatile technique that allows artists to create intricate and bold compositions. By using ink pens or brushes, artists can achieve different effects, from delicate lines to solid blocks of color. This section will explore some useful tips for mastering the art of ink drawing.
One key aspect to consider in ink drawing is choosing the right tools. Different types of ink pens and brushes offer various line qualities and textures. For instance, fine-tipped pens are ideal for creating precise details, while brushes with broader bristles allow for bolder strokes. Experimenting with different tools can lead to unique results, as each artist’s hand movement and pressure will interact uniquely with the medium.
To achieve depth and dimension in an ink drawing, shading techniques play a crucial role. Cross-hatching is commonly used to add value by layering parallel lines at varying angles. Stippling involves creating tone through small dots placed closely together or further apart depending on desired intensity. A combination of these techniques can produce visually striking effects that enhance the overall composition.
When working with ink, it is essential to embrace both control and spontaneity. The fluid nature of this medium often leads to unexpected outcomes, which can be embraced as part of the artistic process. Techniques such as “wet-on-wet” involve applying ink onto wet paper, allowing colors to blend organically. Artists may also experiment with using watercolor washes alongside their pen or brushwork for added visual interest.
In summary, mastering the art of ink drawing requires experimentation with various tools, understanding shading techniques, and embracing the unpredictable nature of the medium itself. Through deliberate practice and exploration, artists can develop their own style within this expressive form of visual communication.
Moving forward into our next section about “H2: Pastel Drawing Tips,” we will delve into another exciting medium that offers its unique set of challenges and possibilities.
H2: Pastel Drawing Tips
H2: Pastel Drawing Tips
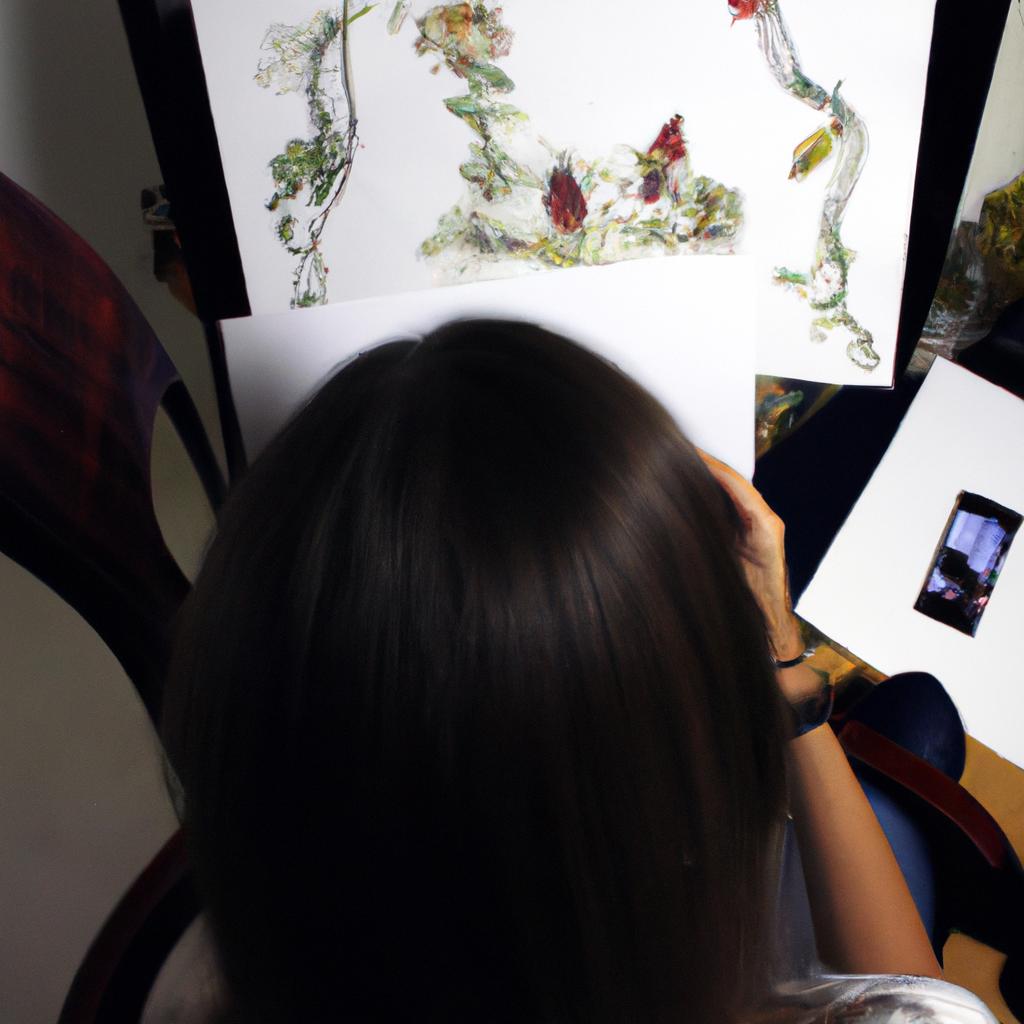
In the world of drawing, pastels offer a unique and vibrant medium that allows artists to create stunning works of art. Whether you are an experienced artist or just starting out, these Pastel Drawing Tips will help you master this versatile technique.
To illustrate the effectiveness of pastel drawings, let’s consider the case of Emily, a budding artist who found her passion for capturing landscapes through pastel drawings. With their soft texture and blendability, pastels allowed Emily to effortlessly recreate the lush colors and textures of nature on paper. Through careful layering and smudging techniques, she was able to bring life to her artworks, making them appear almost three-dimensional.
Here are some essential tips to enhance your own pastel drawing skills:
- Experiment with different types of pastels: Explore various brands and types such as soft, hard, oil-based, or chalky pastels to find what suits your style best.
- Use appropriate surfaces: Consider using textured papers specifically designed for pastels to maximize color vibrancy and prevent smudging.
- Master blending techniques: Learn how to effectively blend colors using tools like your fingers or blending stumps to achieve smooth transitions between shades.
- Fixative application: Apply fixative spray in thin layers between each stage of your artwork to preserve its integrity and prevent smearing.
| Pros | Cons | |
|---|---|---|
| Soft Pastels | Vibrant colors; easy blending | Fragile; can be messy |
| Oil-Based Pastels | Rich pigments; long-lasting | Require ventilation due to fumes |
| Chalk Pastels | Easy application; affordable | Less intense colors |
As you delve deeper into the world of pastel drawing, remember that practice is key. By experimenting with different techniques and materials, you will develop your own unique style. Now that we have explored the wonders of working with pastels, let’s move on to the next section and discover some valuable Tips for Figure Drawing.
Transition into H2: Tips for Figure Drawing
Building upon the techniques discussed in pastel drawing, mastering the art of figure drawing requires a different set of skills.
H2: Tips for Figure Drawing
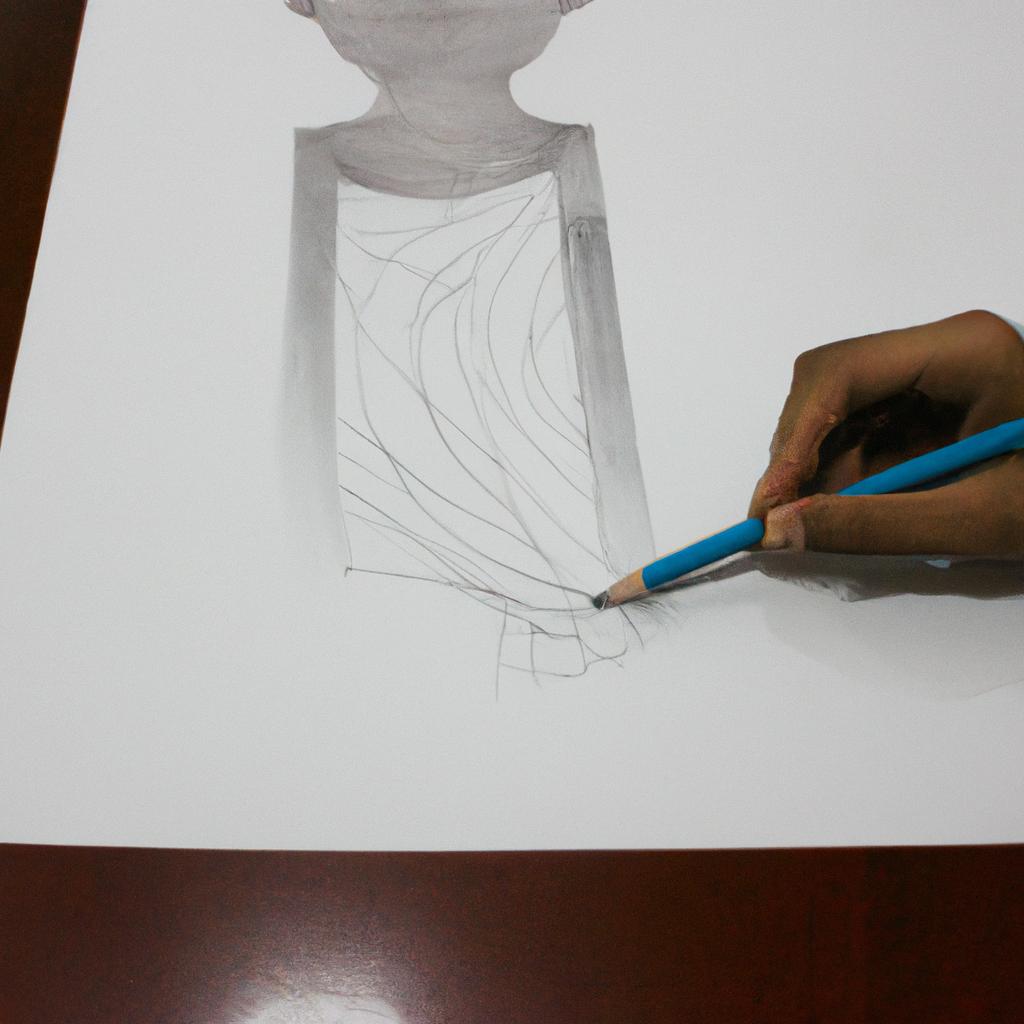
In figure drawing, capturing the human form accurately requires a combination of technical skills and an understanding of anatomy. One effective technique is to start with basic geometric shapes to establish proportions before adding details. For instance, consider a hypothetical scenario where an artist wants to draw a person sitting on a park bench. They would first sketch out the general shape of the body using simple circles and ovals, gradually refining the outlines until they achieve the desired pose.
To bring life and depth to your figure drawings, here are some valuable tips:
- Vary line weight: Experiment with different pressures and strokes when outlining or shading the figure. This can add dimensionality and create contrast within your artwork.
- Study light and shadow: Observe how light falls on various parts of the body and use shading techniques such as hatching or cross-hatching to render shadows realistically. Understanding light sources helps in creating convincing three-dimensional forms.
- Pay attention to gesture: Capturing the overall movement and energy of a pose can make your figure drawings more dynamic. Focus on fluid lines that convey action or emotion.
- Practice foreshortening: Foreshortening is often challenging but essential for depicting figures in perspective correctly. It involves representing objects closer to the viewer as shorter than their actual size. Regular practice can improve your ability to accurately depict this visual phenomenon.
Remember that these tips serve as helpful guidelines rather than strict rules. Every artist develops their own style over time, so don’t be afraid to experiment and find what works best for you.
Now transitioning into H2: Portrait Drawing Tips
H2: Portrait Drawing Tips
By understanding these tips and incorporating them into your practice, you will be able to capture the human form with more accuracy and finesse.
Example:
Imagine you are attempting to draw a dynamic pose of a dancer mid-leap. As you carefully observe their body in motion, pay attention to the following guidelines:
- Proportions:
- Ensure that you accurately depict the relative sizes of different body parts by using basic measurements or comparative methods.
- Remember that proportions can vary depending on factors such as age, gender, and physique.
- Pay close attention to landmarks like the head-to-body ratio and placement of joints.
- Gesture and Movement:
- Capture the energy and essence of the figure through quick gestural lines that convey movement and flow.
- Observe how weight distribution affects posture and balance, allowing you to create a sense of dynamism within your drawing.
- Experiment with various line weights to emphasize certain areas or gestures.
- Anatomy:
- Familiarize yourself with basic anatomical structures beneath the skin’s surface so that you can render muscle groups accurately.
- Study skeletal structure to understand joint locations and range of motion, enabling believable poses.
- Keep in mind underlying forms when shading or rendering details later on.
Bullet Point List (evoking an emotional response):
Drawing figures requires not only technical skill but also artistic sensibility. Consider these key points as you embark on your figure drawing journey:
- Embrace imperfections; they add character and authenticity to your artwork.
- Find inspiration from diverse sources such as art history, nature, or even everyday life experiences.
- Allow yourself enough time for regular practice sessions to refine your technique gradually.
- Remember that every artist has their own unique style—let yours shine through!
Table (evoking an emotional response):
| Tips for Figure Drawing |
|---|
| 1. Focus on capturing the essence and movement of the figure. |
| 2. Study anatomy to understand underlying structures. |
| 3. Embrace imperfections and develop your own style. |
| 4. Dedicate regular practice sessions to hone your skills. |
Mastering figure drawing techniques lays a strong foundation for your artistic journey. As you become more comfortable with capturing proportions, gestures, and anatomical details, it’s time to explore another essential aspect of creating realistic drawings: shading techniques. In the following section (H2: Shading Techniques in Drawing), we will delve into various methods that bring depth and dimensionality to your artwork, elevating it further.
H2: Shading Techniques in Drawing
H2: Shading Techniques in Drawing
Continuing our exploration of the art of drawing, we now delve into the fascinating realm of shading techniques. By skillfully applying different shades and tones to a drawing, an artist can create depth, dimension, and realism. Let us consider an example to illustrate the power of shading.
Imagine a simple pencil sketch of a bowl of fruit. Without any shading, the drawing appears flat and lacks visual interest. However, by utilizing various shading techniques, such as hatching or cross-hatching, the artist can bring the image to life. Shadows emerge beneath each piece of fruit, casting a sense of light falling on them from above. The interplay between light and dark adds texture and three-dimensionality to the artwork.
To further enhance your understanding of shading techniques in drawing, here are some key principles worth noting:
- Tonal Values: Experiment with different levels of darkness and lightness in your drawings to achieve varying degrees of contrast.
- Blending Techniques: Explore blending methods like smudging or using tortillons to seamlessly transition between different shades.
- Highlighting: Learn how to effectively use highlights to accentuate certain areas and create focal points within your composition.
- Shadows: Mastering shadow placement is crucial for creating depth; carefully observe how shadows interact with objects in real life.
To illustrate these concepts visually, consider this table showcasing four common shading techniques along with their effects:
| Technique | Description | Example |
|---|---|---|
| Hatching | Parallel lines drawn closely together to simulate value |  |
| Cross-Hatching | Overlapping sets of parallel lines at varying angles |  |
| Stippling | Dots placed close together or far apart to create shading |  |
| Smudging | Blending different values together using a tool or finger |  |
By employing these shading techniques effectively, you can bring depth and realism to your drawings, captivating viewers with your artistic prowess.
Transitioning seamlessly into our next exploration of line techniques in drawing, we move forward in uncovering the diverse toolbox available for artists to express their creativity.
H2: Line Techniques in Drawing
H2: Line Techniques in Drawing
Building on the previous section’s exploration of shading techniques, line techniques are another fundamental aspect of drawing that significantly contributes to the overall visual impact and expression. By skillfully manipulating lines, artists can convey a sense of movement, depth, and texture within their artwork. Understanding various line techniques is crucial for achieving desired effects and creating compelling drawings.
To illustrate the significance of line techniques, consider the following example: an artist wants to depict a serene landscape with rolling hills in graphite pencil. By utilizing different types of lines such as hatching and cross-hatching, they can effectively represent the undulating contours of the hills. The varying densities and directions of these lines add dimensionality to the scene, evoking a sense of tranquility and natural beauty.
Incorporating a bullet point list can help highlight key concepts related to line techniques:
- Contour Lines: These outline shapes or forms, emphasizing their edges.
- Gesture Lines: They capture the essence or movement of a subject with flowing strokes.
- Implied Lines: Suggest connections between elements without being explicitly drawn.
- Expressive Lines: Convey emotions or moods through variations in thickness, curvature, or intensity.
A table showcasing different line techniques further enhances our understanding:
| Technique | Description |
|---|---|
| Hatching | Parallel lines used to create value by increasing density or spacing |
| Cross-Hatching | Layering intersecting hatch marks to achieve darker tones |
| Scribbling | Rapidly executed overlapping lines producing chaotic textures |
| Contour Drawing | Delicate lines tracing outlines while capturing subtle changes in form |
By mastering these diverse approaches to employing lines in drawing, artists gain enhanced control over composition and visual storytelling. Aspiring artists should experiment with different line techniques under proper guidance and explore how each technique affects their artistic expression.
Transitioning seamlessly into the subsequent section on “H2: Proportions in Figure Drawing,” we delve further into the foundation of figure drawing, where understanding accurate Proportions is essential for creating realistic and aesthetically pleasing representations.
H2: Proportions in Figure Drawing
Transition from Previous Section:
Having explored the intricacies of line techniques in drawing, we now turn our attention to another essential aspect of creating captivating artworks – proportions in figure drawing. Understanding how to accurately depict proportions is crucial for artists aiming to achieve lifelike representations and evoke emotions through their work. In this section, we will delve into various approaches and concepts related to proportioning figures.
Proportions in Figure Drawing
To grasp the significance of proportioning, let us consider a hypothetical example. Imagine an artist attempting to draw a portrait but neglecting to pay attention to facial proportions. The result? A distorted representation that fails to capture the subject’s likeness or convey their unique characteristics effectively.
When it comes to figure drawing, maintaining correct proportions ensures accurate depictions while enabling artists to create visually appealing compositions. Here are some key principles and techniques employed by artists:
-
Comparative Measurement Technique:
- Artists use comparative measurement techniques such as sighting and plumb lines.
- This approach involves analyzing relationships between different parts of the body based on measurements or anatomical landmarks.
-
Idealized Proportions:
- Many artistic traditions have established idealized proportional systems for representing human figures.
- These systems provide guidelines for determining relative sizes of various body parts, resulting in harmonious compositions.
-
Variations in Proportion:
- Artists often make deliberate deviations from realistic proportions for expressive purposes.
- By intentionally altering certain dimensions, they can emphasize specific features or evoke emotional responses.
-
Practice and Observation:
- Developing a keen eye for observing proportions requires regular practice and observation of real-life subjects.
- Engaging with live models or studying photographs aids artists in understanding variations among individuals’ bodies.
By mastering these techniques and concepts surrounding proportioning figures, artists gain greater control over their expressions on paper or canvas. Consequently, viewers are more likely to connect emotionally with artwork that successfully captures the essence and vitality of human forms.
Transition to Subsequent Section:
As we conclude our exploration of proportions in figure drawing, let us now delve into another vital aspect – expressive techniques. In the upcoming section on “H2: Expressive Techniques in Drawing,” we will explore methods employed by artists to infuse their creations with emotion and convey narratives through visual language.
H2: Expressive Techniques in Drawing
Section H2: Proportions in Figure Drawing
In the previous section, we explored the importance of understanding proportions in figure drawing. Now, let us delve into another essential aspect of this art form – expressive techniques.
Imagine a portrait that captures not only the physical features but also conveys a range of emotions through subtle details. Consider an artist who skillfully portrays sadness by gently smudging the lines around the eyes or joy by using bold strokes to emphasize a smile. These techniques allow artists to breathe life into their drawings and establish a deeper connection with viewers.
To achieve such expressive results, artists employ various methods and tools. Here are some key techniques worth exploring:
- Contrast: By utilizing contrasting values, artists can create depth and drama in their drawings. Darkening certain areas while leaving others lighter enhances the overall visual impact.
- Texture: Incorporating texture adds richness and dimension to artwork. Artists experiment with different mark-making techniques, such as cross-hatching or stippling, to simulate surfaces like skin or fabric.
- Composition: The arrangement of elements within a drawing significantly influences its emotional impact. Artists carefully consider how objects interact with each other, ensuring they guide the viewer’s eye towards the focal point.
- Color palette: Although often associated with painting, color choices play a vital role in drawing as well. Even when working solely in black and white, artists can use value variations effectively to convey mood and atmosphere.
Embracing these expressive techniques opens up endless possibilities for creating captivating drawings that resonate emotionally with audiences.
Continuing our exploration of fundamental concepts in drawing, our next section will examine composition in portrait drawing – an integral component that complements both proportion and expression seamlessly.
H2: Composition in Portrait Drawing
From the expressive techniques explored in drawing, we now move on to an equally important aspect: composition in portrait drawing. To illustrate this concept, let us consider the case of a budding artist named Alex who wishes to create a compelling portrait that captures the essence of their subject.
When it comes to composing a portrait drawing, various factors contribute to its overall impact and effectiveness. Firstly, understanding the rule of thirds can greatly enhance the visual appeal. By dividing the canvas into nine equal sections using two horizontal and two vertical lines, artists can strategically position key elements such as the eyes or facial features along these intersections, creating a more balanced and visually pleasing composition.
Additionally, proper use of negative space is crucial in highlighting the subject’s presence within the artwork. Leaving intentional empty spaces around the subject emphasizes their importance and draws attention to their portrayal. This technique allows for a sense of tranquility and simplicity while showcasing the subject’s unique qualities.
To further evoke emotions in viewers through composition in portrait drawing, consider incorporating contrasting elements:
- Light vs. dark: Playing with light and shadow creates depth and adds drama.
- Soft vs. sharp edges: Contrasting soft contours against sharper lines can convey different moods or characteristics.
- Warm vs. cool colors: Utilizing warm hues for certain areas while employing cooler tones elsewhere can evoke specific feelings associated with those colors.
- Static vs. dynamic poses: Choosing between a still pose versus one with movement affects how viewers engage emotionally with the artwork.
In applying these principles effectively, Alex demonstrates their ability to capture not only physical resemblance but also emotional depth in portraiture. Consequently, they succeed at communicating a profound connection between artist and subject through thoughtful composition choices.
Transitioning smoothly from exploring composition techniques, our next section delves into another essential skill set for aspiring artists – blending techniques in drawing. Understanding how to seamlessly merge shades and textures will elevate portraits beyond mere sketches onto captivating works of art that captivate the viewer’s gaze.
H2: Blending Techniques in Drawing
Building upon the knowledge of composition, artists can further enhance their drawings by mastering various blending techniques. By skillfully manipulating shades and tones, artists can create depth, realism, and a sense of three-dimensionality in their artwork.
Blending is an essential skill that allows artists to seamlessly integrate different elements within a drawing. One example illustrating the power of blending techniques is showcased through the portrayal of shadows on a subject’s face. By carefully selecting lighter and darker shades, and applying them with precision, an artist can effectively capture the subtle nuances of facial contours. This attention to detail not only adds dimension but also conveys emotions and captures the essence of the individual being portrayed.
To achieve successful blends, artists employ various techniques such as:
- Feathering: Softening harsh lines by gently fading one tone into another.
- Smudging: Using fingers or specialized tools to blur edges and create smooth transitions between colors.
- Cross-hatching: Overlapping parallel lines at varying angles to build up layers of shading.
- Scumbling: Applying light strokes with a dry brush or pencil over existing areas to add texture and depth.
These blending techniques allow for greater control over tonal variations, enabling artists to evoke specific moods or atmospheres within their work. To illustrate this point further, consider how these techniques affect viewer perception:
| Emotion | Technique | Effect |
|---|---|---|
| Serenity | Feathering | Creates softness and tranquility |
| Intensity | Smudging | Enhances dramatic impact |
| Complexity | Cross-hatching | Adds intricacy and detail |
| Mystery | Scumbling | Evokes a sense of ambiguity and curiosity |
Incorporating these techniques into one’s drawing allows for the creation of captivating and emotionally resonant artwork. By skillfully blending tones, artists can manipulate light and shadow to convey depth, texture, and atmosphere in their drawings.
Mastering blending techniques requires patience, practice, and experimentation. With each stroke of the pencil or brush, an artist has the opportunity to express themselves while evoking powerful emotions within viewers. Through careful observation and application of these techniques, artists can transform their drawings from mere outlines into dynamic representations that engage the senses and leave a lasting impression on those who behold them.